January 31, 2018
In the past 10 years, I’ve noticed more and more campers taking to the trees. Hammock camping is on the rise and if you doubt me, just take a look at all the places selling hammocks, suspension systems, tarps and hammock hardware. Hammocks have an inherent advantage over tents, bivy sacks, and dropping to the ground with a ground pad and sleeping bag. Your sleep isn’t interrupted or prevented by sharp roots digging into your back, puddles of water marinating your feet while you sleep or uneven terrain certain to roll you into your camping buddies. With all the benefits of hammock camping, it would seem logical to use them over traditional ground shelters whenever possible but there is one condition hammock campers despise; that condition is cold. Hanging in the cold air requires specialized equipment and some “stay warm” hacks and habits.
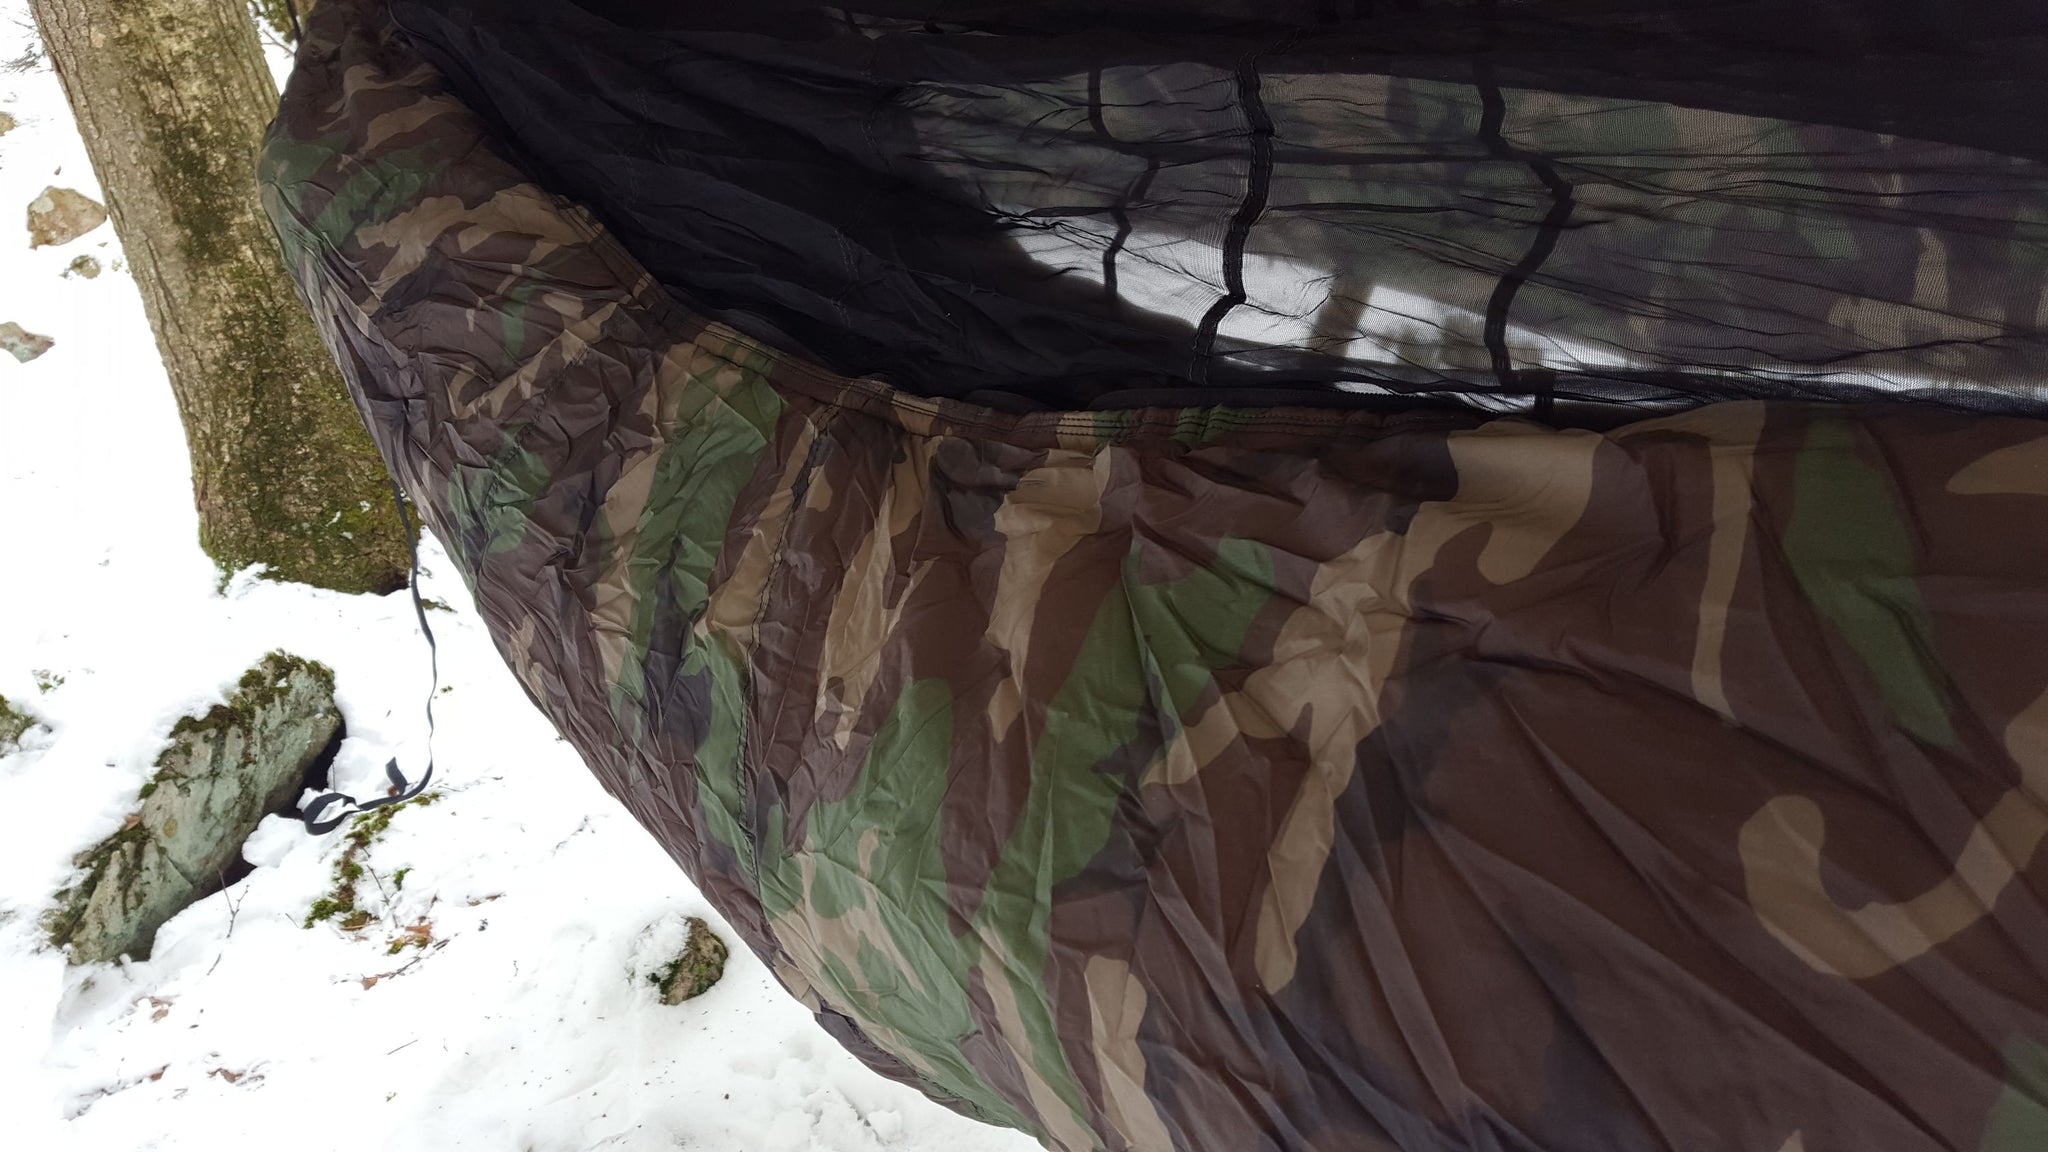 Underquilt
The underquilt cannot be overrated winter camping. Designed to wrap around the exterior of the hammock body, the underquilt can be attached with hook and loop, snaps, drawstrings or zippers. Underquilts work separately from sleeping bags and quilts in that they do not compress under your body’s weight. This is why quilts are often carried in the winter over sleeping bags. After all, the insulation on the bottom of the sleeping bag does no good when it is compressed. Underquilts add some weight and bulk to the cold-weather hammock kit and adding one makes your stuff sack that holds it all about the size of a small 3-season tent. In addition to providing warmth from the cold, an underquilt also prevents “frozen-butt hang syndrome” by blocking the wind that circulates underneath you.
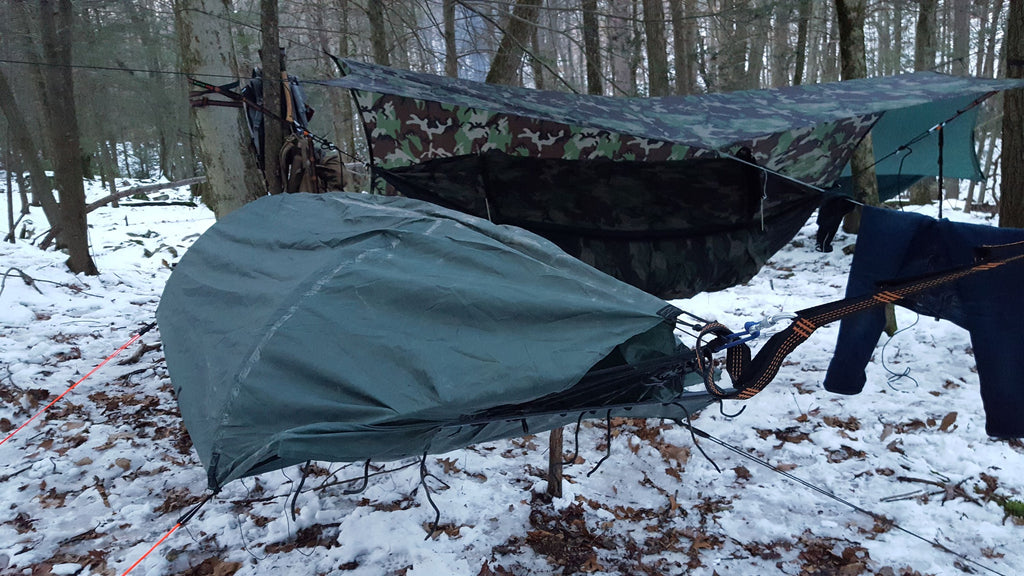 Hand-Warmer Sock Sandwich
The hand-warmer sock sandwich is a tip straight from the handbook of my good friend and Estela Wilderness Education Instructor Lt. Mike. Each cold night, Lt. Mike will put on a designated dry pair of socks, then put a chemical toe warmer on, and then another pair of socks. Warm feet are happy feet and this trick will keep your feet from freezing on the coldest of nights. Pair this trick with putting a rolled up jacket underneath your knees to help circulate blood flow and frozen toes will be a thing of the past.
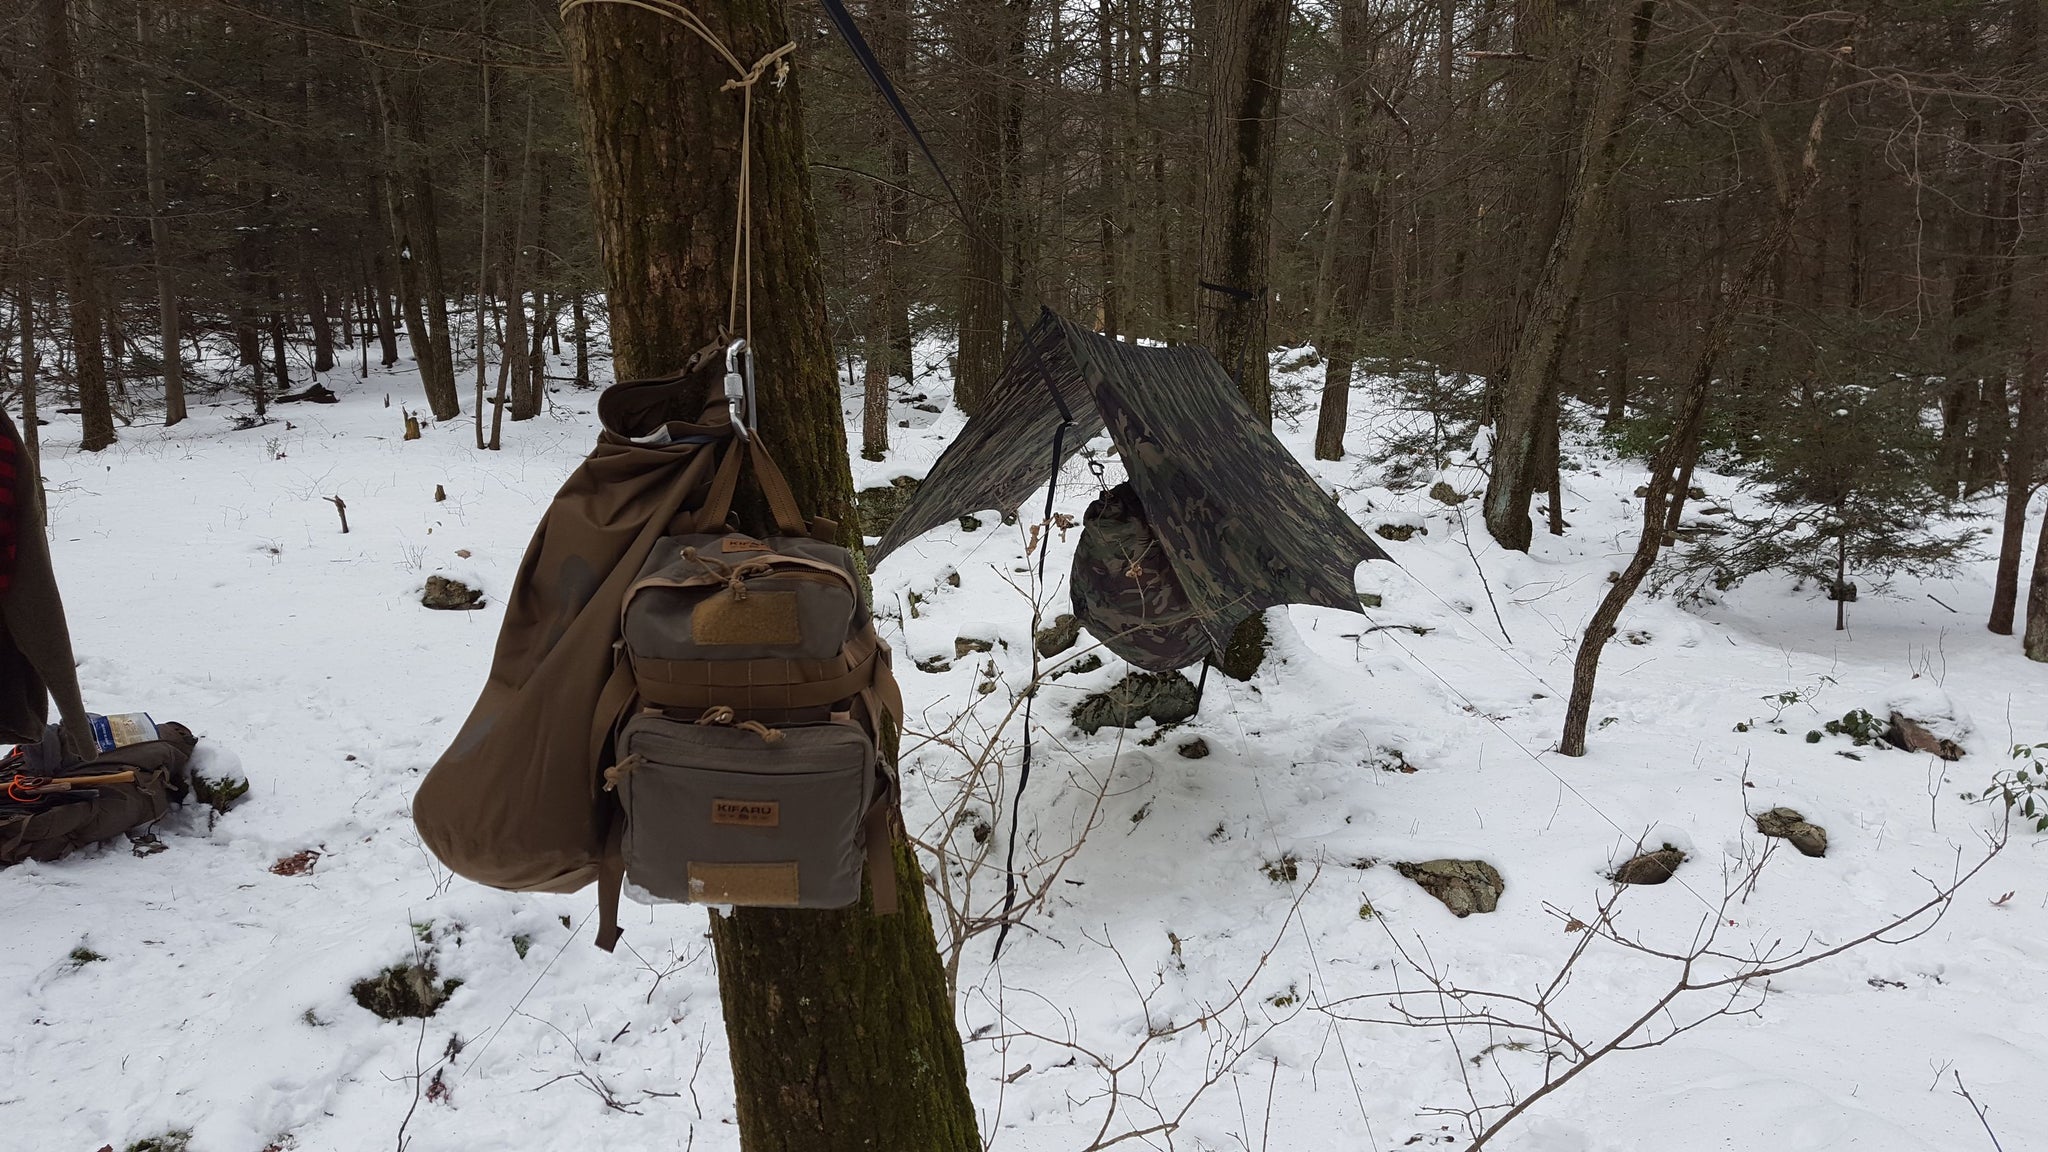 Maximize your Sleeping Bag
Whether you are on the ground or swinging in a hammock, one of the places cold air makes its way in is that gap in your sleeping bag around your neck. Your body produces the majority of the heat your sleeping bag will either insulate or let escape. A neck gaiter or scarf plugs this opening and takes up very little space in your kit. If your sleeping bag does not have a hood, an insulated hat that covers your ears will work as a substitute. A pillow or a stuff sack filled with clothes can be used to support your head and neck as well as block off any extra dead air space that could sneak into your bag. Each morning when you wake up, do your best to let your sleeping bag dry out in the sun or warm it near a fire. The more you perspire in your bag the less effective it will be.
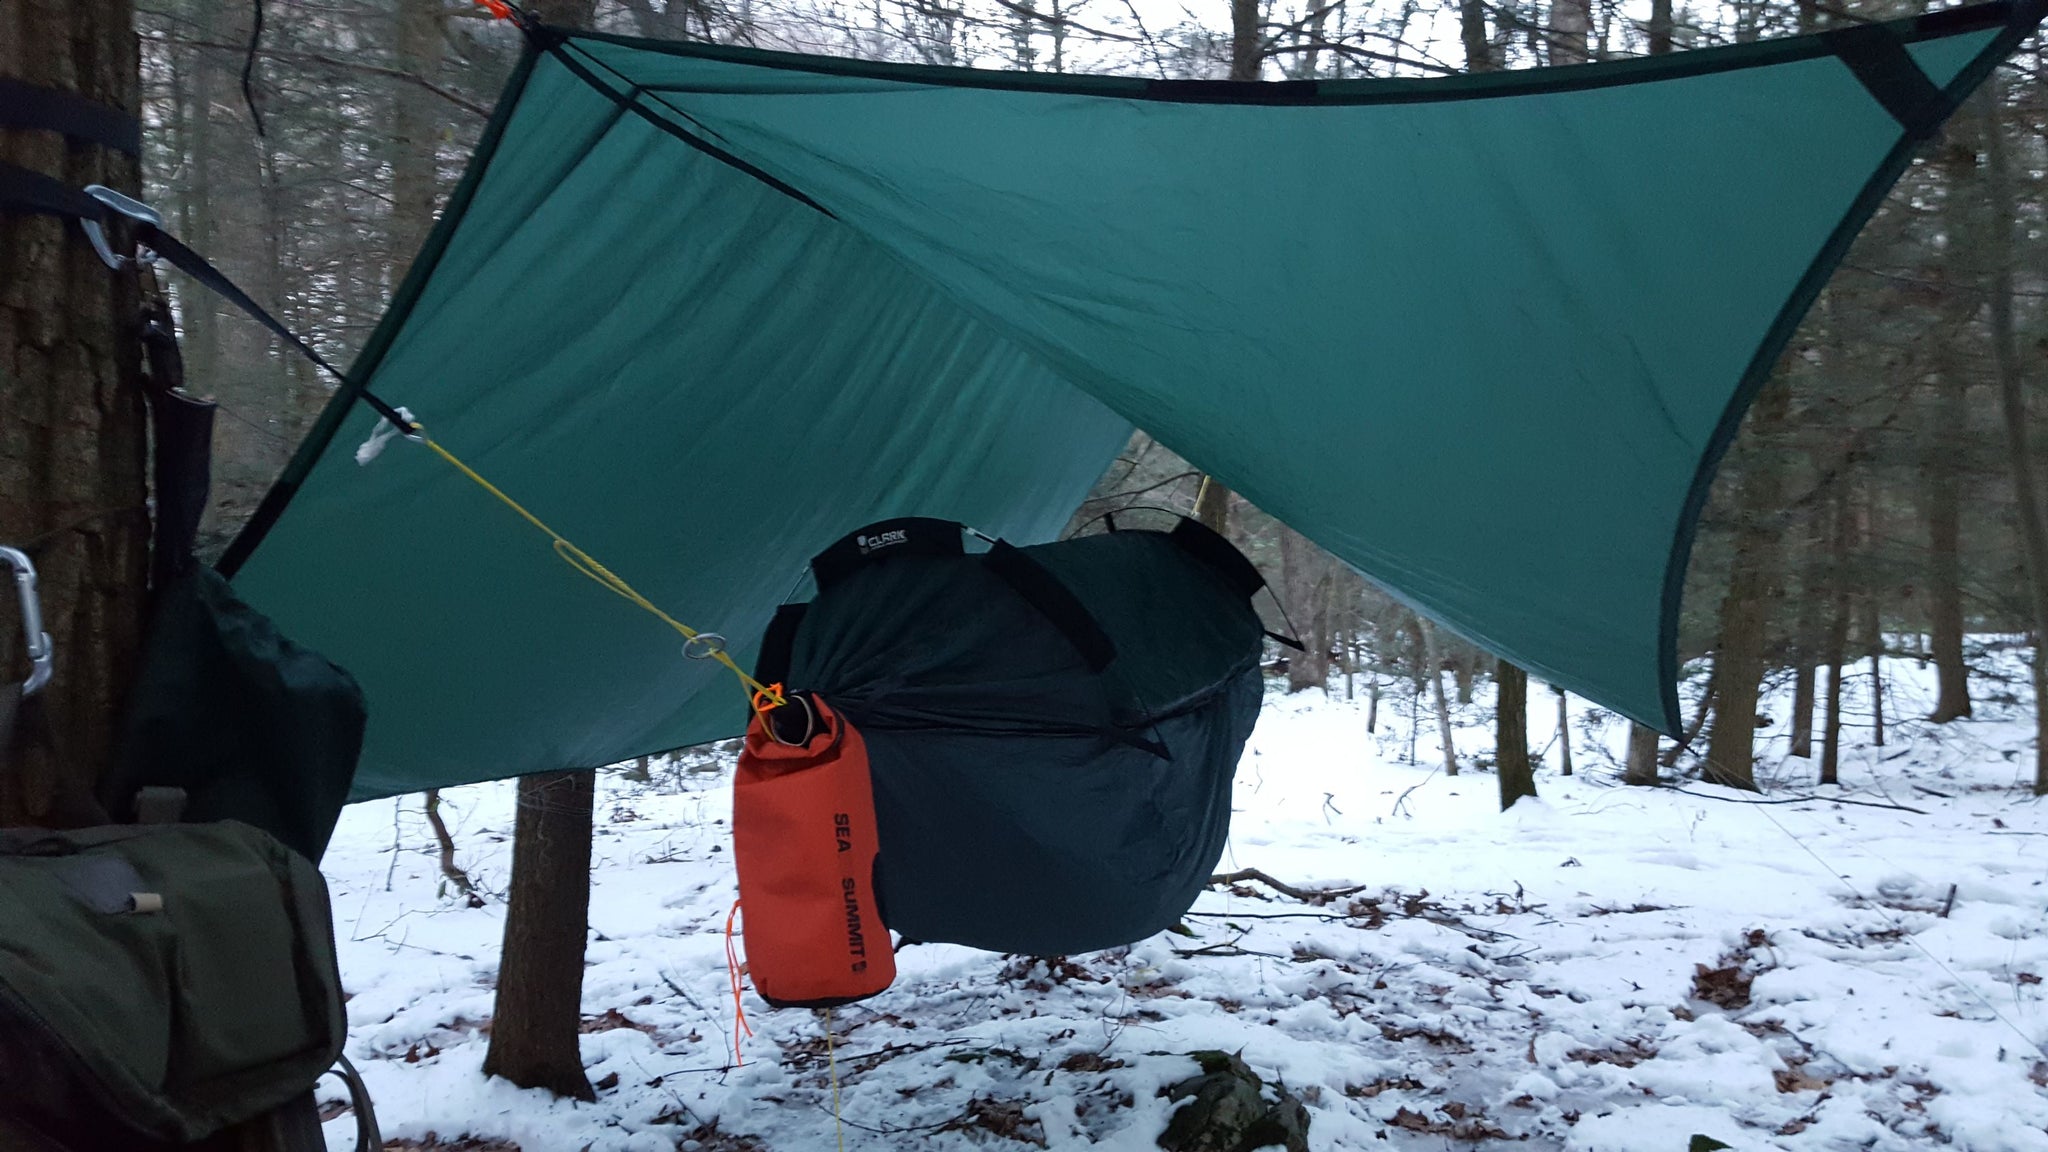 Low-Hanging Tarp Envelope
Similar to maximizing your sleeping bag you can create a bag inside of a bag or in this case a bag inside of an envelope. Normally, I sleep in my hammock shelter with my tarp strung high above my hammock to create living space. During the daytime, I attach my hammock to the ridgeline to get it out of the way. A tarp set up that way affords me great visibility and air-flow to cool me down on warm summer nights. In the cool weather, the opposite approach is necessary. During cold weather, I take the sides of my tarp and bring them low to the ground. If my hammock’s tarp is large enough (I use a few different tarps depending on the hammock), I will literally leave only foot of space between the tarp and the ground and sometimes I’ll go right to the ground if no snow is expected. Furthermore, some tarps allow closing in the head and the foot of the tarp while guying out the sides to create what looks like an envelope. In both of these setups, heat is trapped, albeit temporarily, before it escapes. Some winter campers will use their primary tarp and add additional lighter-weight tarps or emergency blankets where the openings are. However you set up your tarp, do what you can to trap the heat as much as possible.
 Fuel the Engine
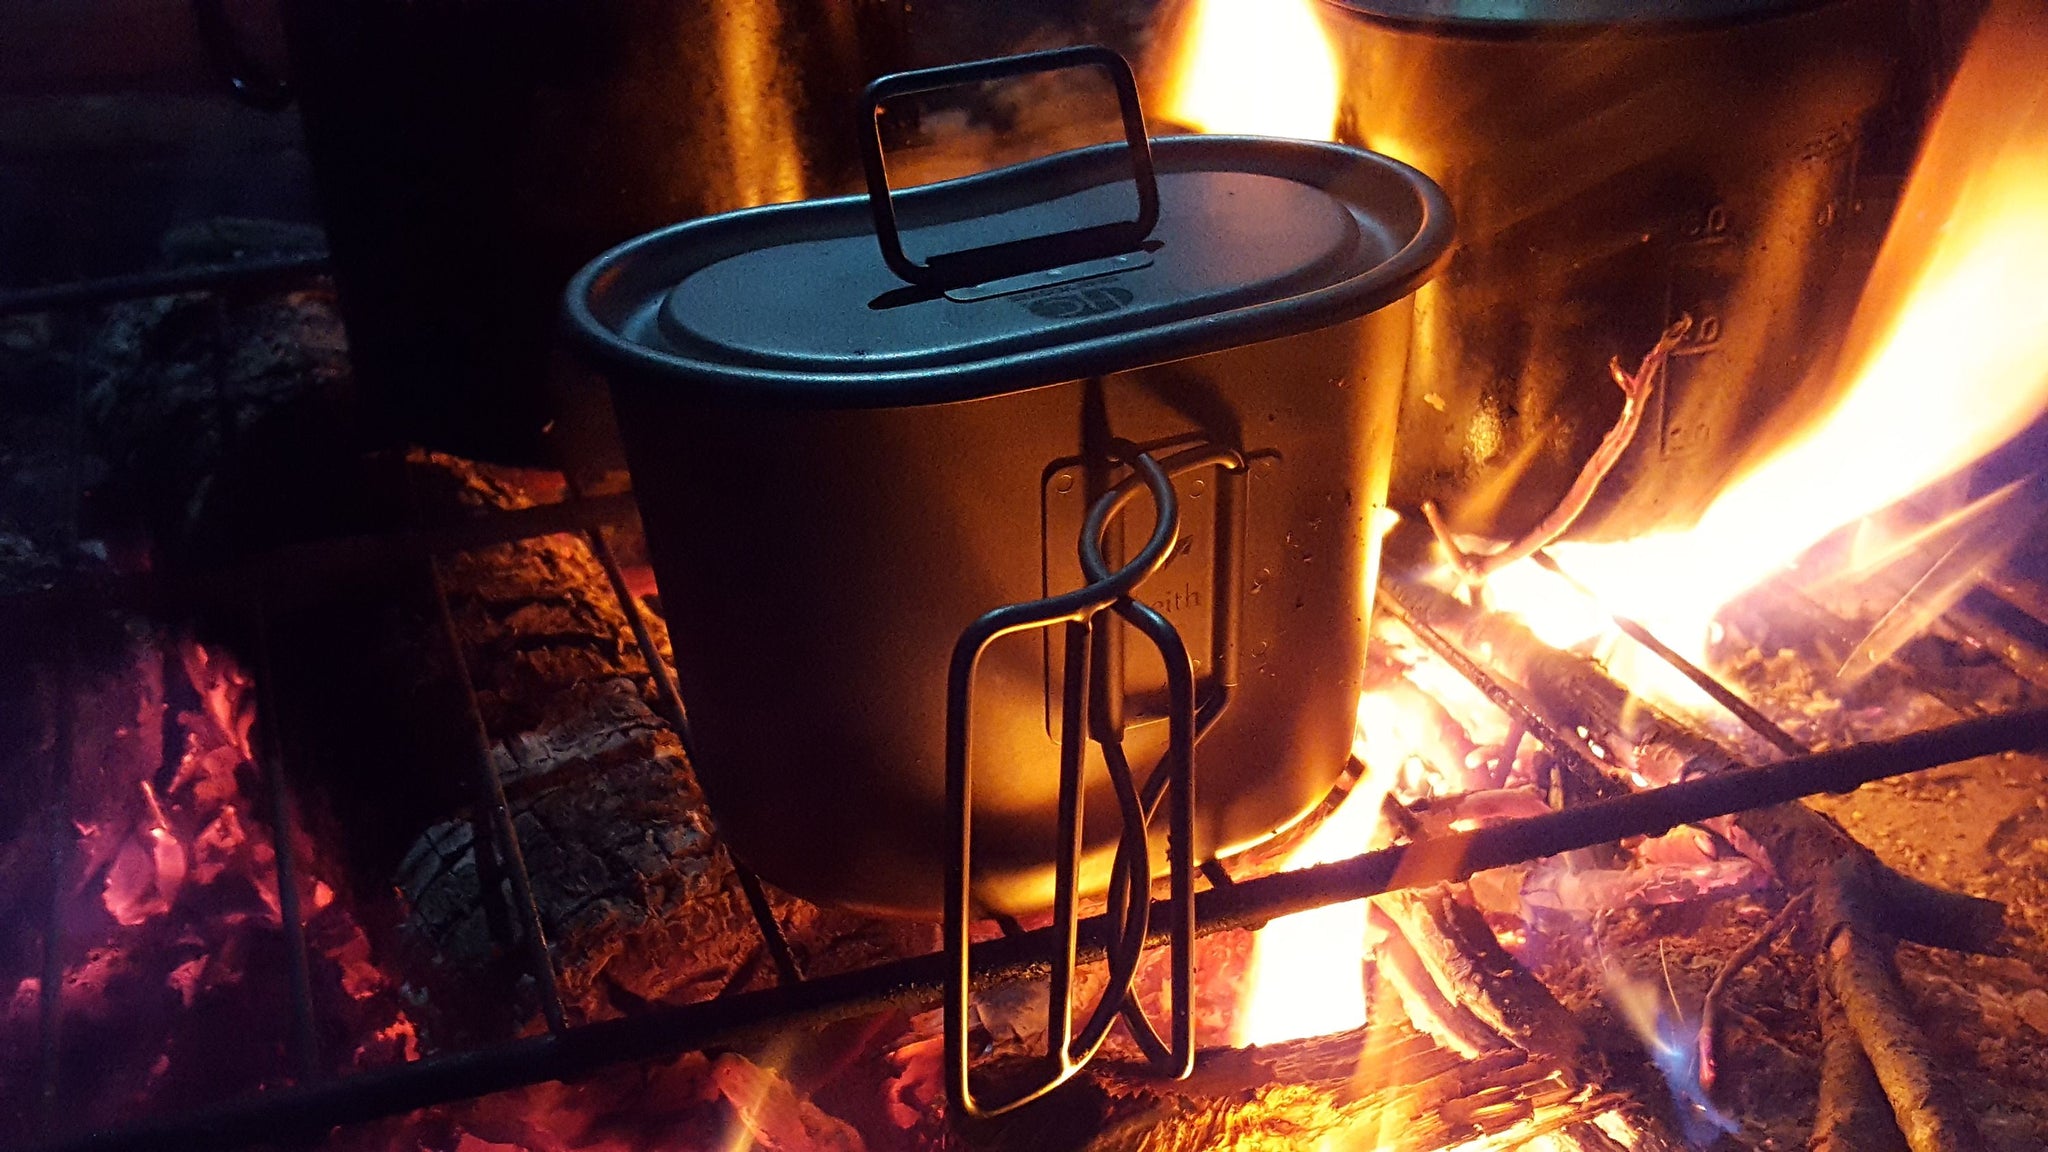
As previously mentioned, your body warms the sleeping bag and not the other way around. Since your body burns calories to stay warm, it makes sense to warm the body with them before you turn in for the night. One of my favorite pre-slumber snacks to ensure my body has enough calories to last through the night is hot cocoa with butter or with coconut oil. The sugar in the hot cocoa gives me the initial calories to burn and the fat in the butter or coconut oil lasts the night for the long-burn. Another good snack is peanut butter and apples. After eating a good amount of calories, I will typically do some pushups or jumping jacks to get my metabolism going before I rest my head. Sometimes you’ll hear nylon rubbing up on nylon in my hammock and that is me “riding the bike” inside my hammock pumping my legs to get the bag warmed up. Once I get my engine started, I know the extra fuel I put in my body just minutes before will keep me going.
Want to try your hand at winter camping in a hammock? Message me. A bunch of Fiddleback Forge owners and users will be camping in Central Pennsylvania on January 20th, 2018 for the “Frozen Butt Hang” campout. I always put my money where my mouth is and I’ll demonstrate all of these skills that weekend. Hope you can make it out.
Comments will be approved before showing up.
Frequently Asked Questions
Product Warranty Information
Returns & Exchanges
Shipping Policy
Terms & Conditions
Privacy Policy
Contact Us
Search
Sign up to get the latest on sales, new releases and more…
Fiddleback Forge
5405 Buford Hwy Ste 480
District Leather Bldg
Norcross, GA 30071
© 2026 Fiddleback Forge.
Fiddleback Forge brand name and Logo are registered trademarks of Fiddleback Forge, Inc. All rights reserved.
