Working with leather has been a winter pastime of mine since 2009. I first learned this skill from my friend Marty Simon at his leather workshop at the survival school where I used to work. Leathercraft is something many bushcrafters will eventually take up but at first, it seems very daunting with all the leather choices, finishes, tools and techniques. I have been contemplating what project I could demonstrate in a tutorial here and settled on a very simple one-piece pouch for a sharpening stone, or other flat objects like the signal mirror used for mine. I didn’t want to carry a quality glass mirror around in a foam and duct-tape sleeve anymore. I’ll do my best to summarize the process step-by-step and anticipate common questions sure to arise in the course of this tutorial.
 Step 1. Build a Paper Template
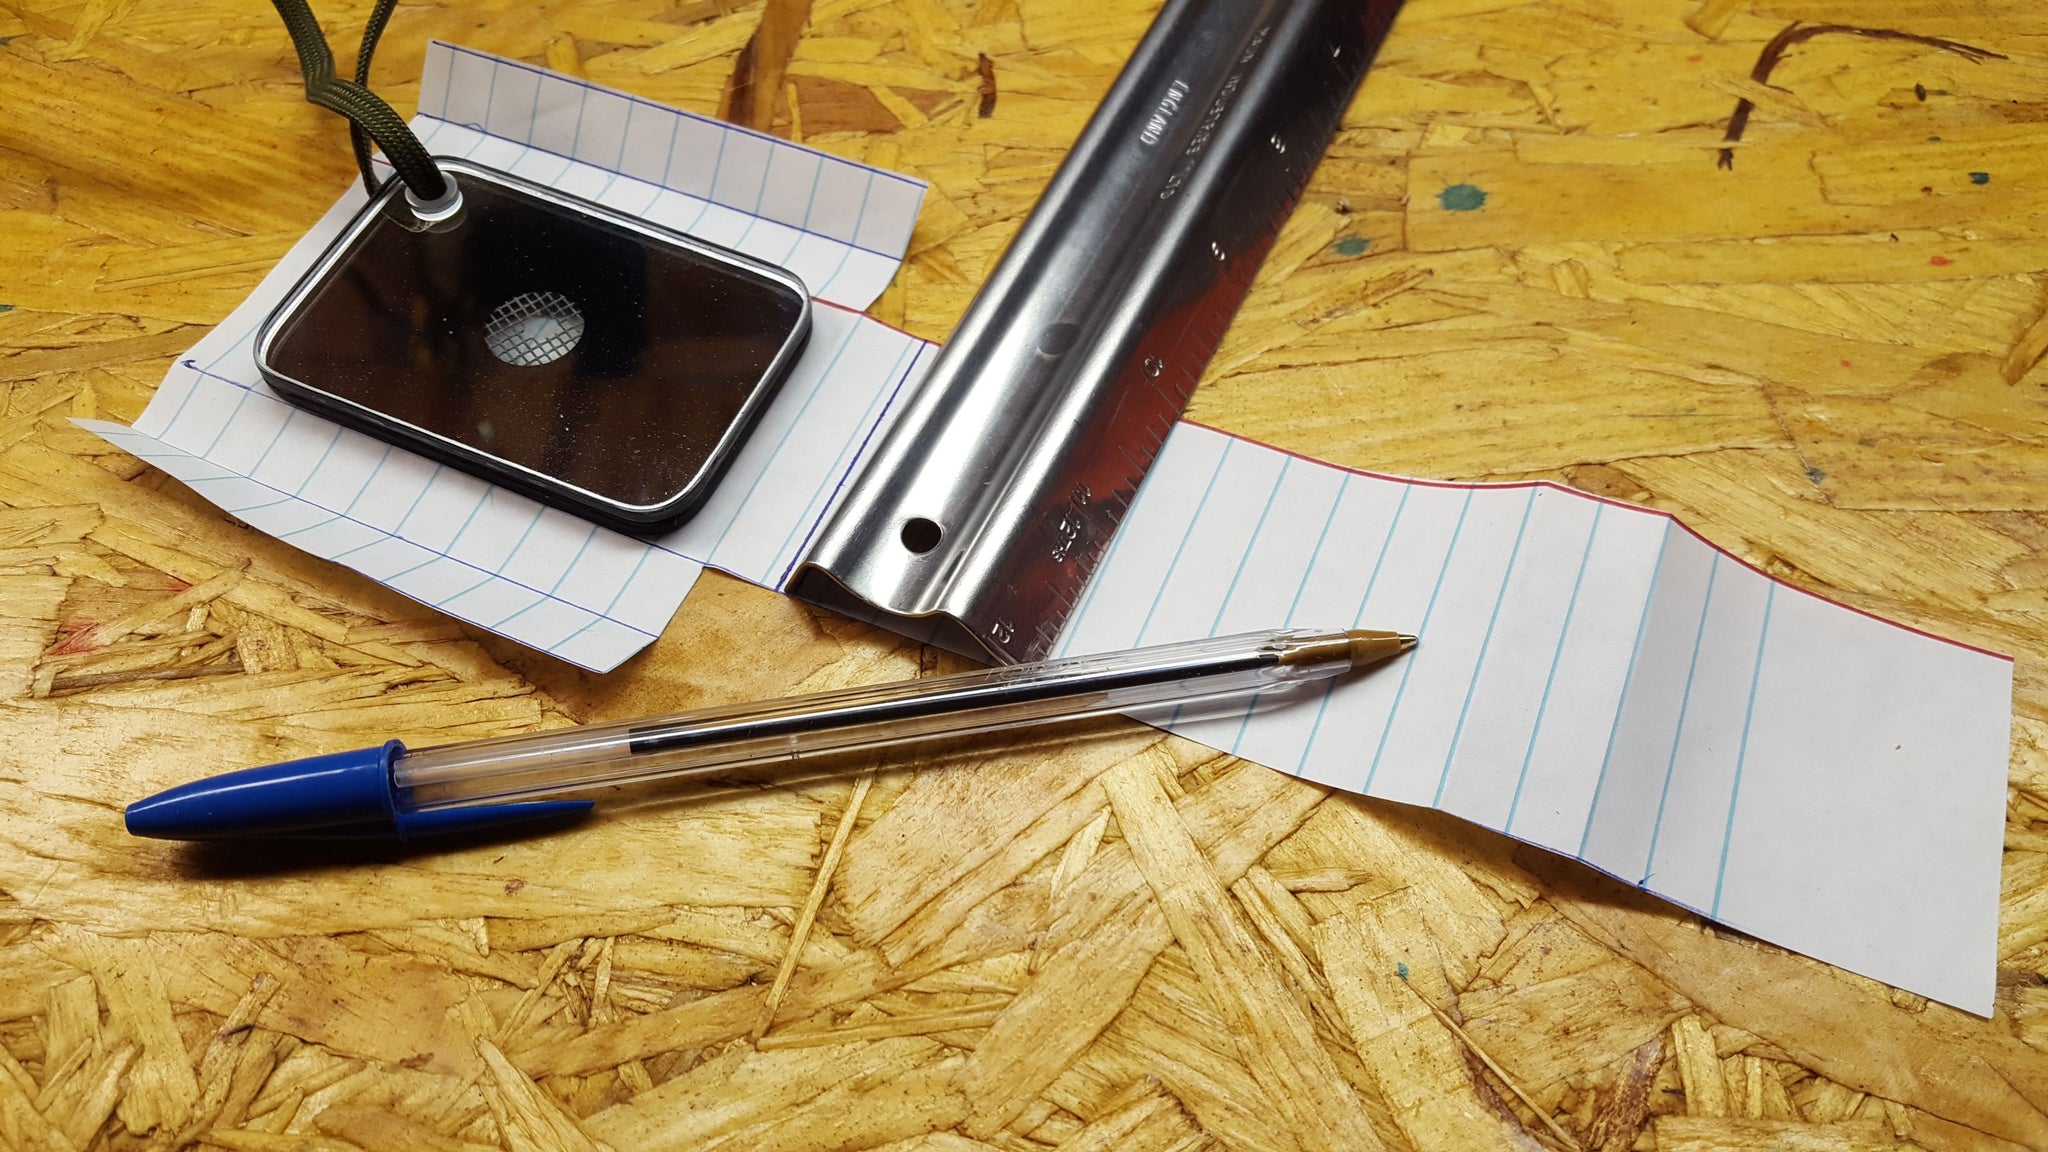
It’s wise to build a paper template before you go and cut up a bunch of leather. Leather is more expensive than loose leaf paper. When I make a template, I always first trace the outline of the object on a piece of paper. I then look at the width of the object and measure that outward in all directions from the outline. This will make sure the pouch has enough clearance for the object. I try to remember (sometimes I forget and kick myself in the ass) the leather is thicker than the paper and additional spacing around the perimeter of the last outline I made. For 5-6 ounce leather, this means about ? inch to ¼ inch of extra space. Once I have the outline drawn, I determine how it will fold together. This mirror pouch is built similarly to the pouches found on Randall Knife sheaths where the bottom of the pouch tucks behind the mirror forming the back and extends up past the opening to become the flap too.
 Step 2. Transfer and Cut out the Template
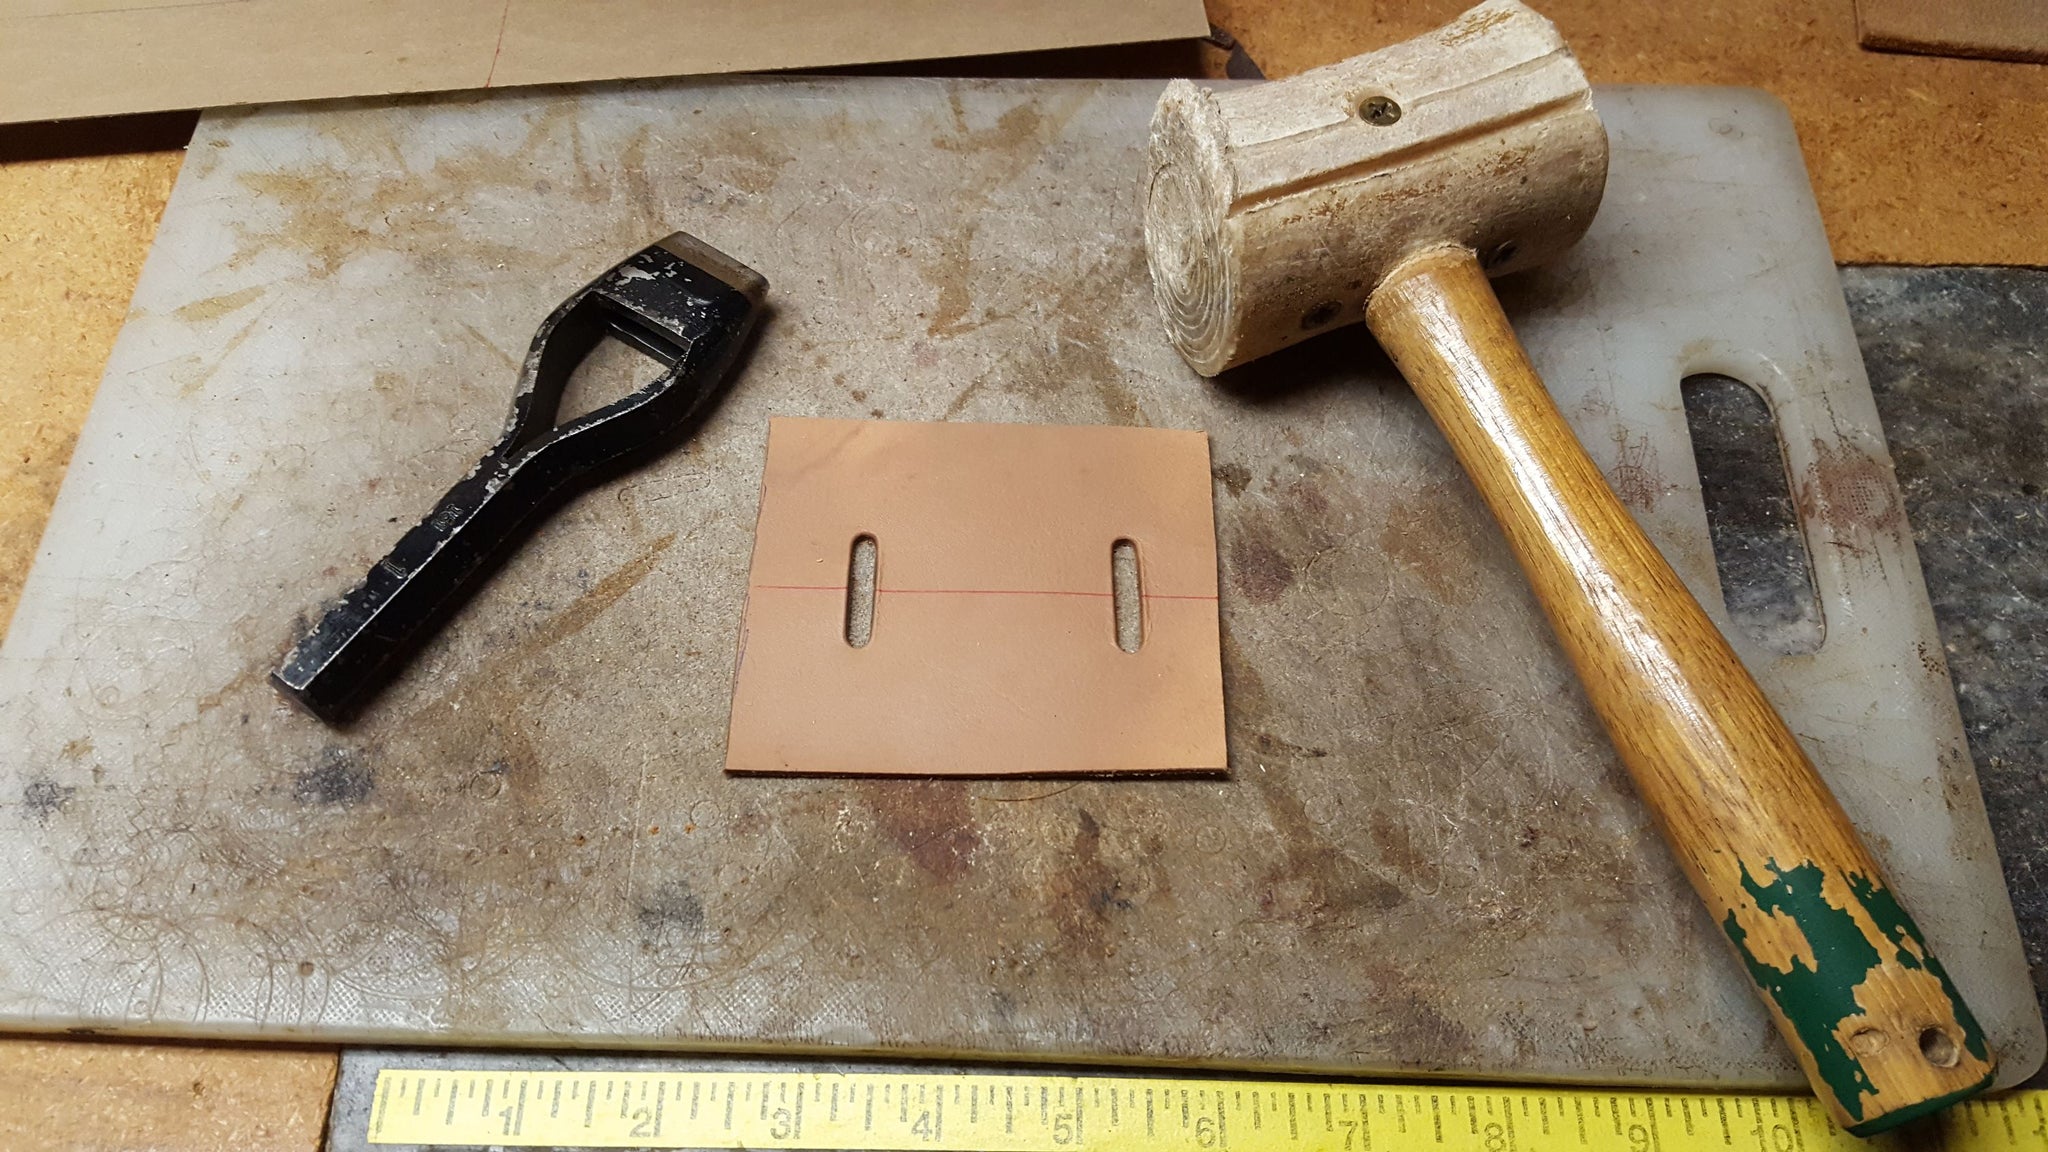
Once I’m happy with the paper template, I transfer it to the leather. For a pouch like this, it doesn’t matter which side is up on the template and which side of the leather is drawn on. I transfer it with a red pen as the red ink doesn’t show up after dying it. I do all my cutting at once. This means I cut out the pouch body, the back of the pouch that will have a belt loop channel and the retention strap for the pouch flap. If you have the optional punch, you can create a belt slot to use instead of the channel between the back of the pouch and the sheath flap/back. Just make sure to punch your holes and connect them with your knife cutting ½ way toward the center from each side. If you want to line your sheath with suede, cut out a “U” shaped piece of suede that will fit inside the dimensions of the flap/back of the pouch and protect the mirror’s finish.
With your template cut out of leather, wet the leather to make it pliable. You can literally submerge your leather in warm water for a minute to ensure it is fully saturated. When the leather is soft and pliable, fold it into the shape of the finished pouch. If you are lining it, now would be a good time to glue your suede to the inside of the pouch. Use your contact cement on the two edges where it will be stitched and let it set up some before pressing the pieces together. Your pouch should stick together where it is glued but if it doesn’t, you can always use a couple heavy books or clamps to squeeze it together as the glue dries.
 Step 4: Mark and Drill Holes
To mark the stitching for your pouch, you can either use a stitching wheel (optional), a compass, or a low-tech method called a fork. I prefer spacing about ¼ inch apart and ¼ inch in from the edge. Press the tines of your stitching tool into the leather to leave a depression. Use a Dremel tool or a power drill with a very fine bit to drill your holes. Too large of a bit and you’ll have gaps the thread will not fill after you stitch it up. Make sure the back of your sheath is up against a piece of wood as you drill. Don’t force the drill through to create clean holes without hanging chads (that’s a throwback to the 2000 election).
 Step 5: Stitch
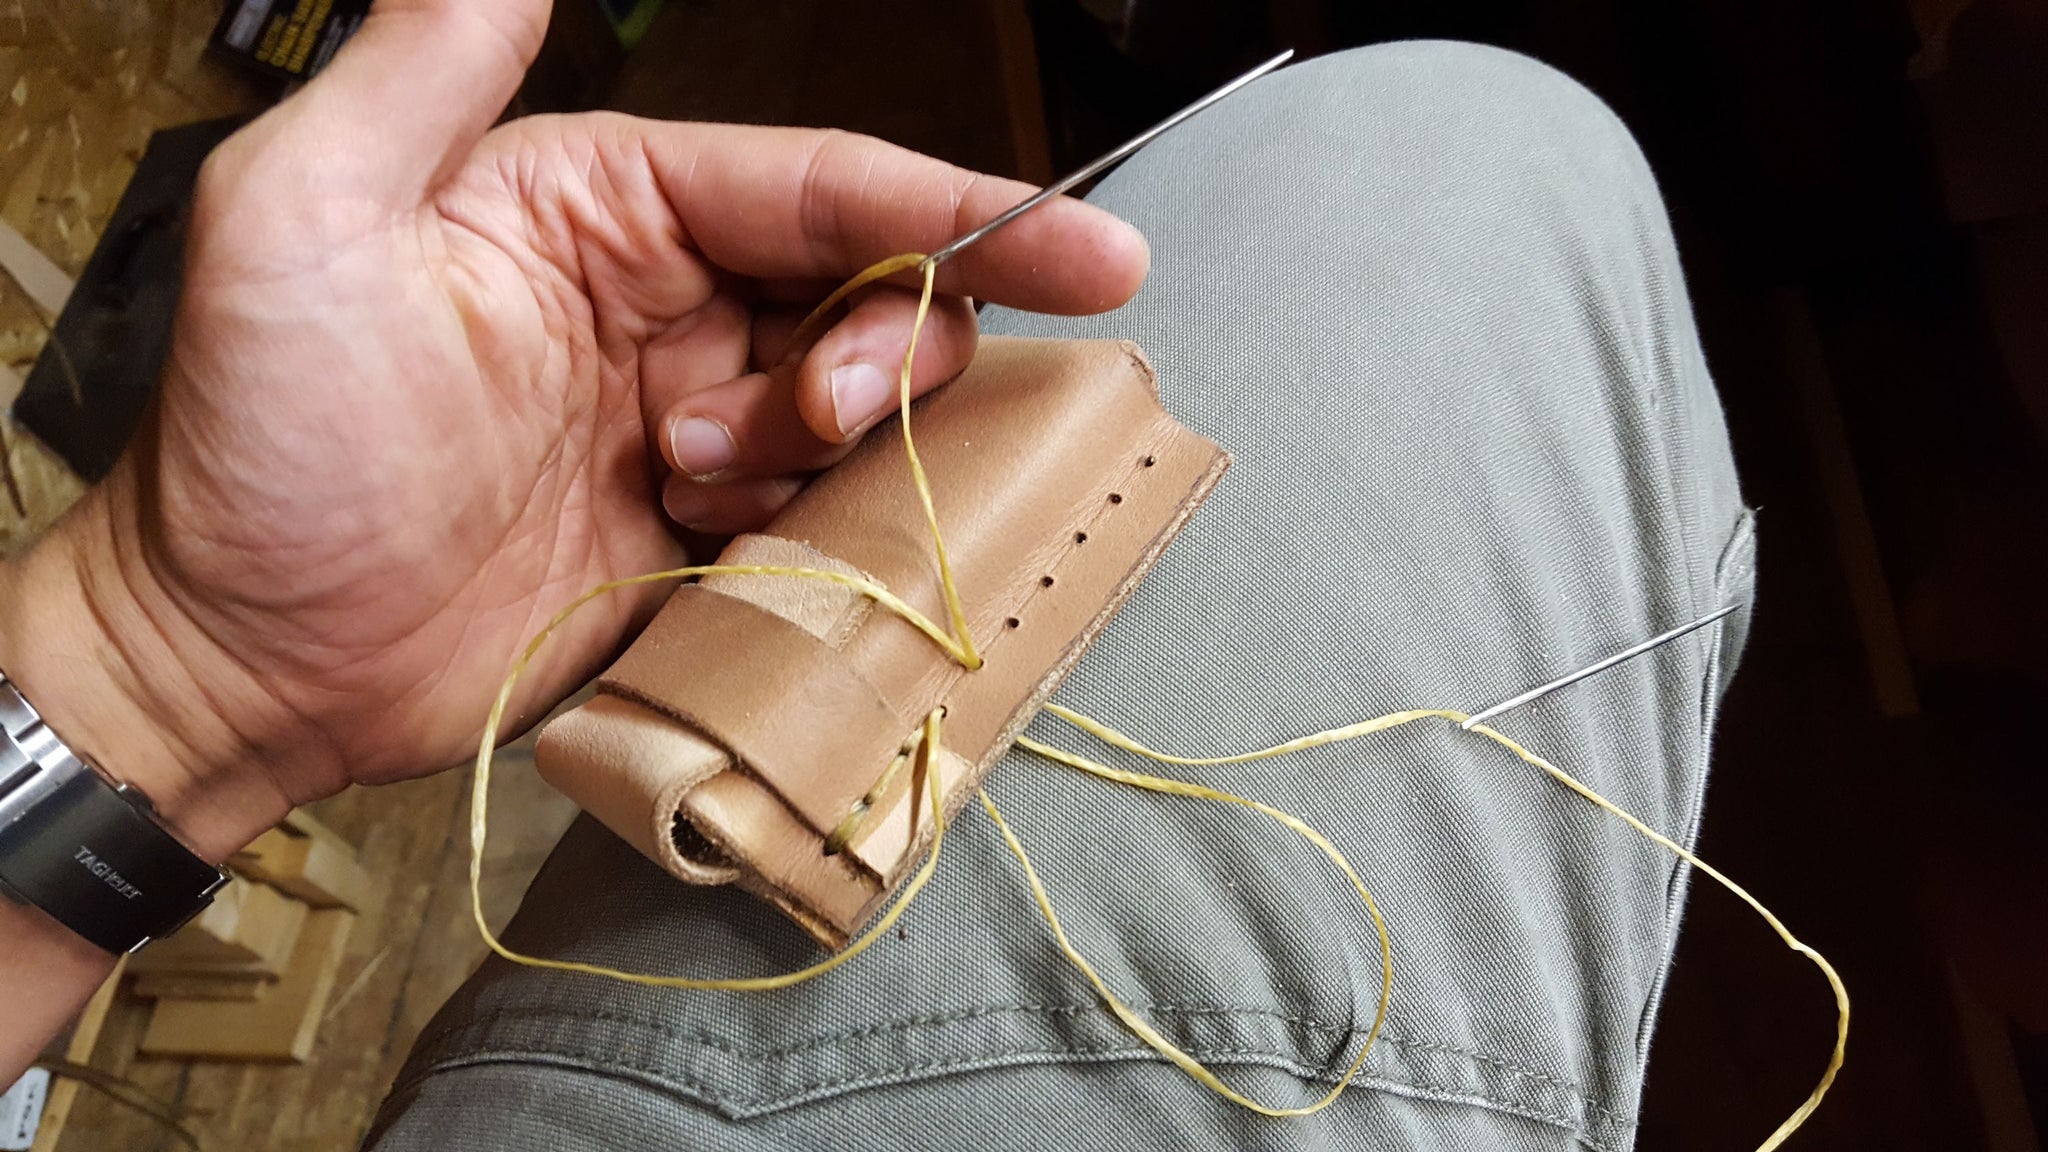
Since the holes are pre-drilled, passing the harness needles and thread through them should be easier than sewing. Use a saddle stitch with two needles on a single piece of thread to accomplish your stitch job. Pass one needle through a hole, bring the pouch to the center of the thread and continue working down the stitching holes with both needles pushed through in opposite directions of the same hole (See visual for better understanding). You’ll need approximately 3x the doubled up length of thread for stitching. I prefer artificial sinew but most stitching thread will work fine. When you finish stitching, snip the thread about ¼ inch from the hole, melt the thread, and mushroom it to prevent it from pulling back out.
 Step 6: Sand edges and Dye
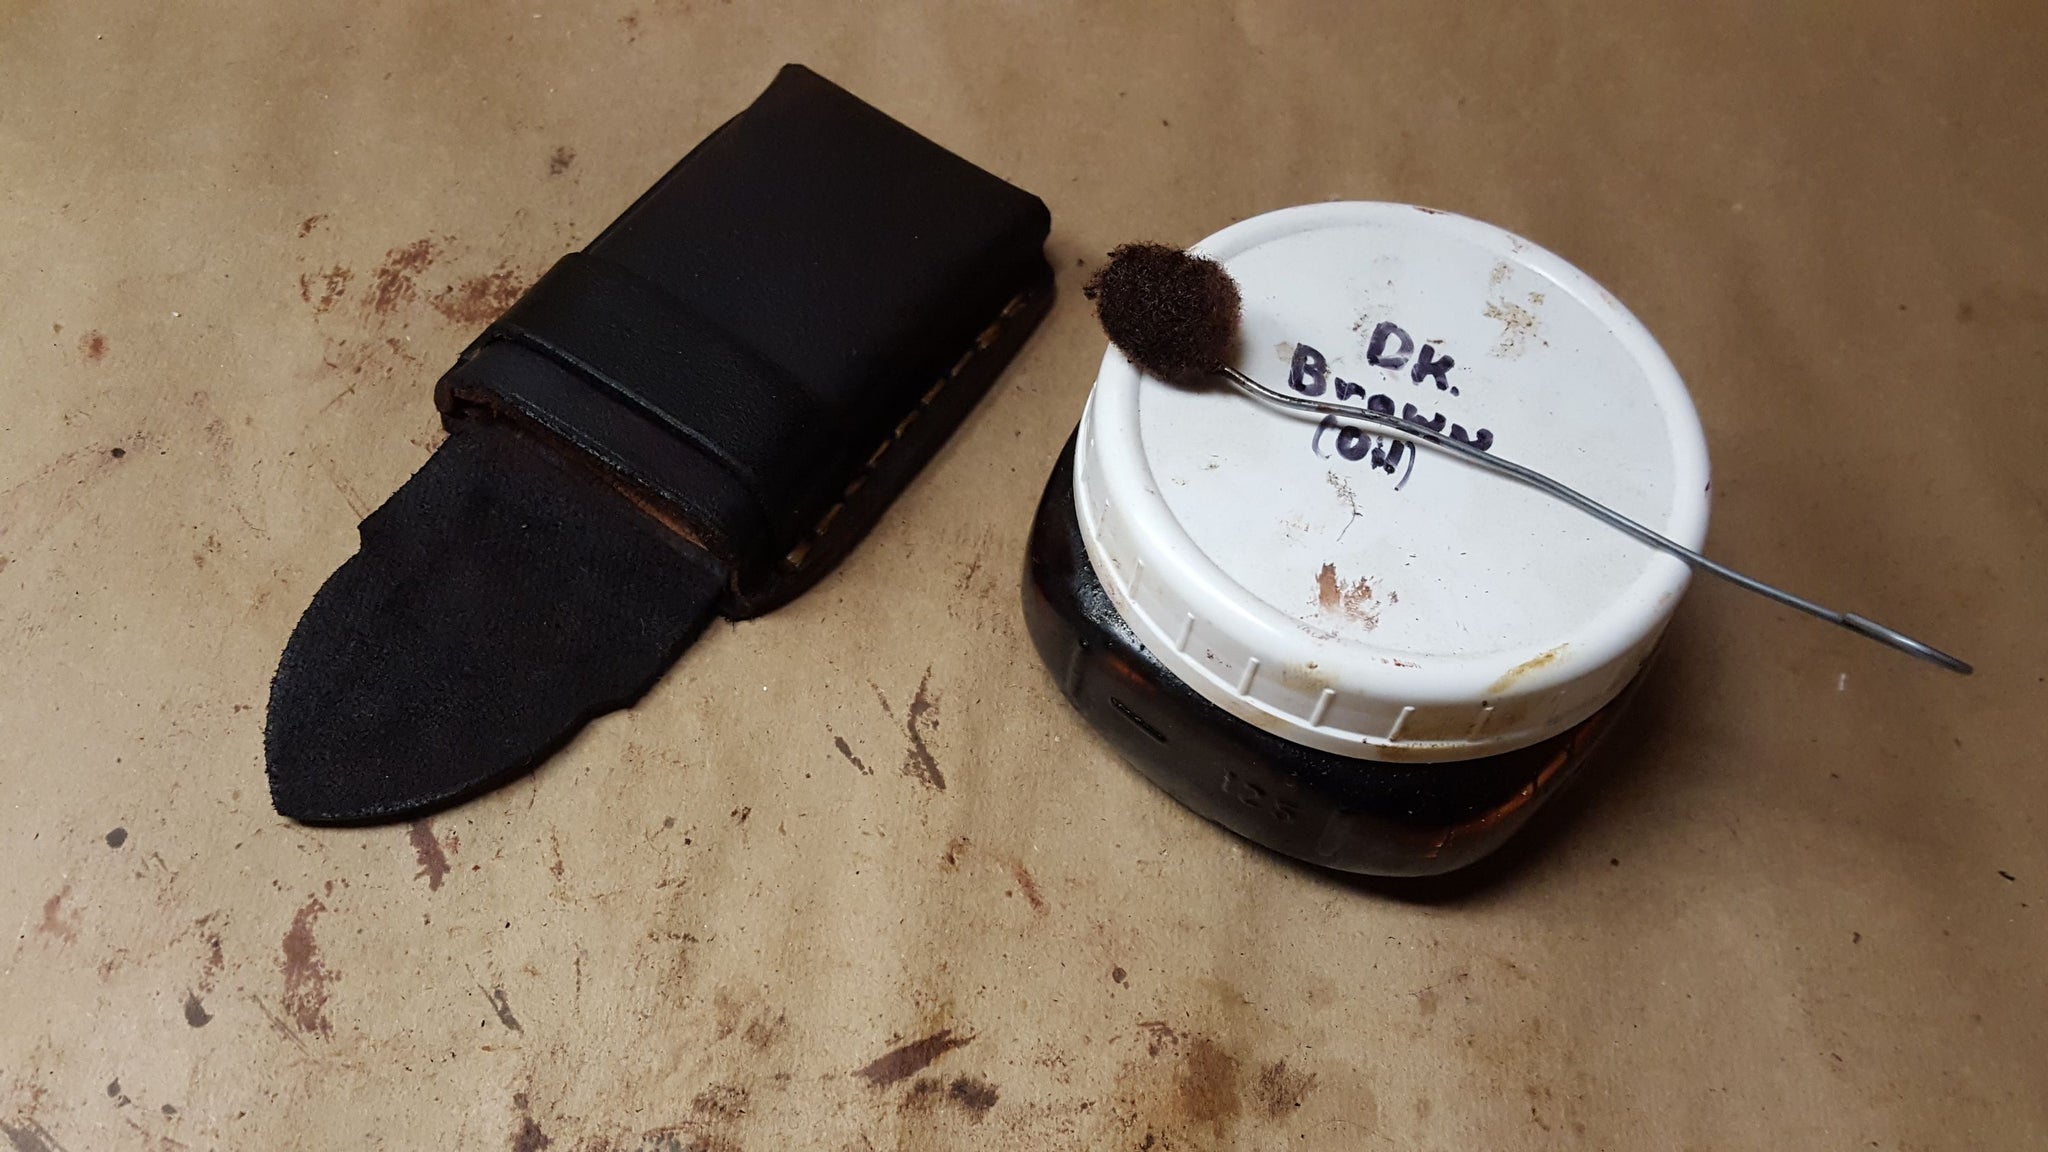
When all the stitching is done, you’ll probably want to clean up the edges where it was glued. Use sandpaper on a flat surface and run the pouch over it to make the edges more uniform and cleaner in appearance. When you’re satisfied, put down newspaper and use a good leather dye to finish it off. A little goes a long way and make sure to use only as much as you need. Let your leather pouch dry and repeat the dying process if it looks uneven or a darker finish is desired.
At this point, your pouch is done. You can apply the steps in this tutorial to make larger pouches and eventually you can add button snaps, extra compartments, fire-steel sleeves or whatever else you want as your skills improve. You can always apply a leather preservative to this pouch or finish the next with a different additive. Making your own gear is highly rewarding and it ensures you get exactly what you’re looking for. Furthermore, there is a satisfaction in using the gear you make. If you’re not satisfied with this pouch at this point, maybe you should re-read this tutorial and try again. If you’re still stuck, hit me up on social media (@Estelawilded on Instagram or Estela Wilderness Education on Facebook) and I’ll answer any questions you may have. Leatherwork has been a great pastime of mine and with a little coaching, it can be one of yours too.
Comments will be approved before showing up.


